
Ang Tapo C210 V1 Indoor ay isang wireless security camera para sa home or small business purposes. Ang camera nito ay HD o High Definition 2K quality ang linaw na may 3 megapixel (3mp) detelyado lahat ma-view mo ng malinaw sa footage nito.
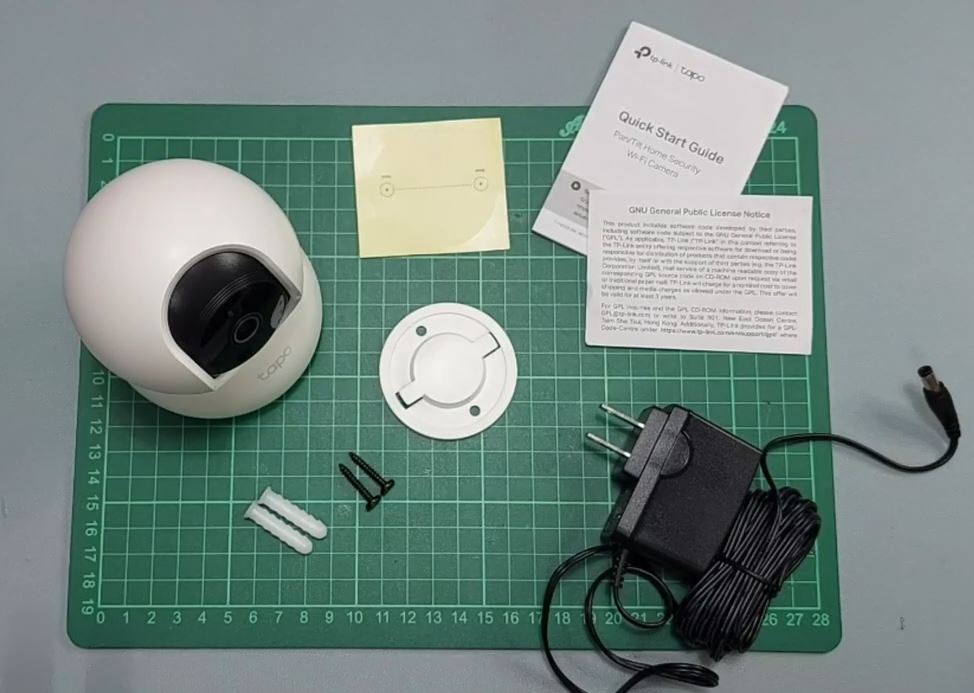
Package: Tapo C210 Camera, DC Power Adapter, Quick Start Guide, Mounting Screws, Mounting Template and Camera Base
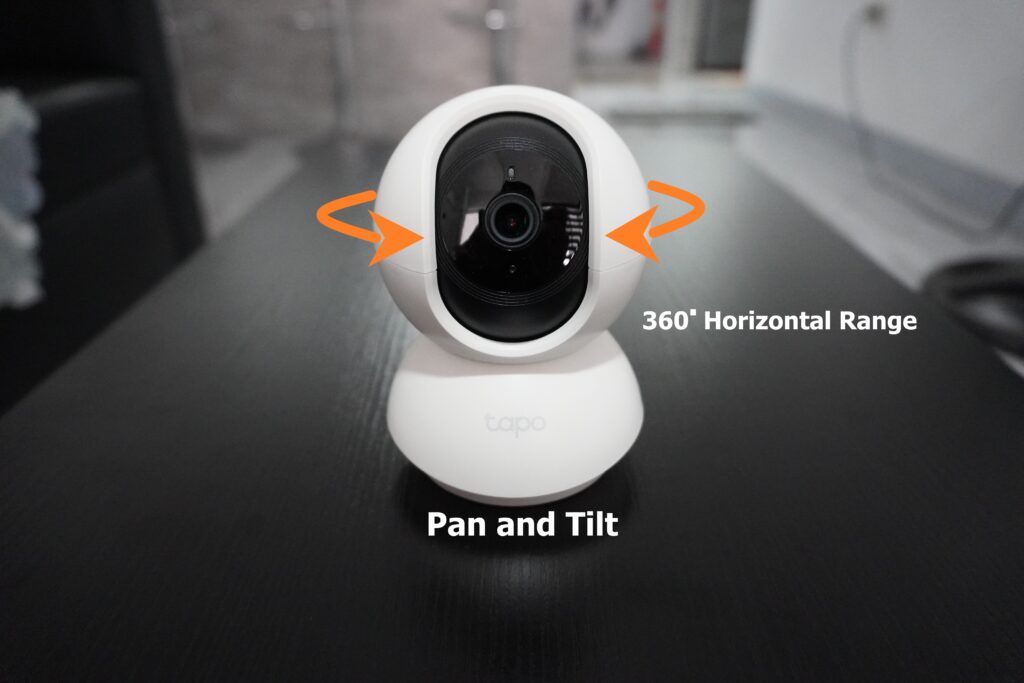
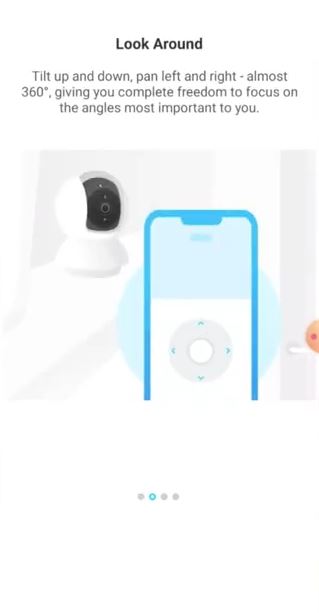
Pwede mo i-pan and tilt ang ating camera ng 360 degree horizontal range para makita mo ang buong paligid nito at mayroon din ito night vision sa gabi na ang distansya nya 9 meters pwede parin makita ang mukha kahit madilim.
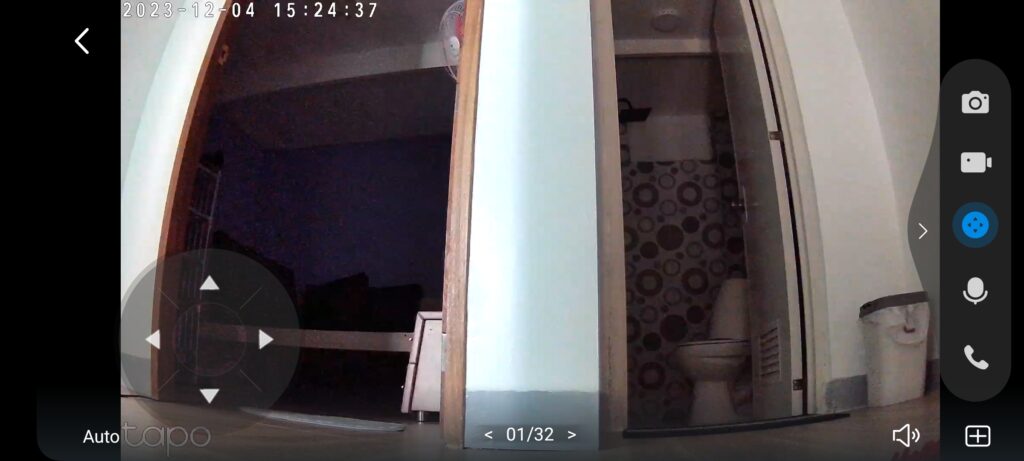
Day Capture
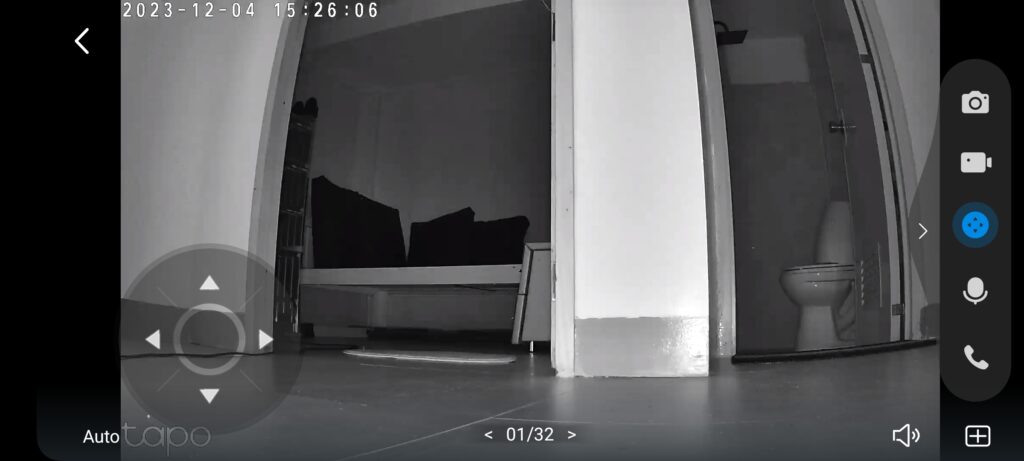
Night Capture
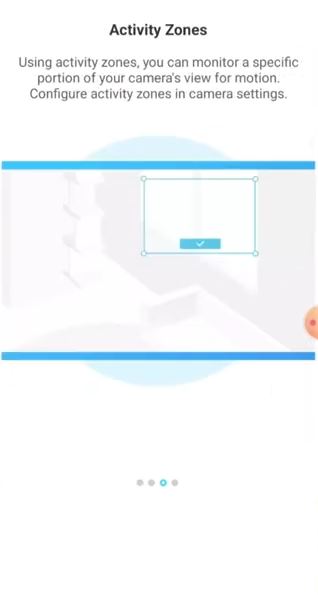
Pwede ka narin ma-notified ng camera mo dahil mayroon itong motion detection at notification ma-view mo ito sa app kung sino yung umaaligi sa premises ng iyong bahay or negosyo.
Paano ang pag-setup ng Notification
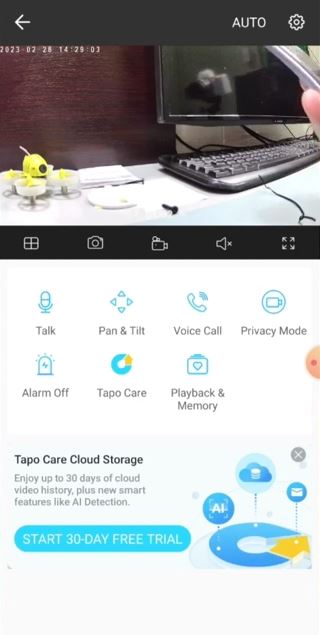
1. Click Camera Icon
2. Click Icon Settings
3. Click Notification
4. Go to Activity Type Click Icons

5. Select which detection applied to your settings
May kasama na rin ito light and sound alarm system pag naka-activate ito mag-start yan ng alarm pag mayroon ito nahagip sa camara pwede mo i-disable ang alarm manually at gumawa ng schedule nito kung kailan pwede mag alarm ang camera sa settings nito.
Paano mag Activate ng Alarm
1. Click Alarm Icon
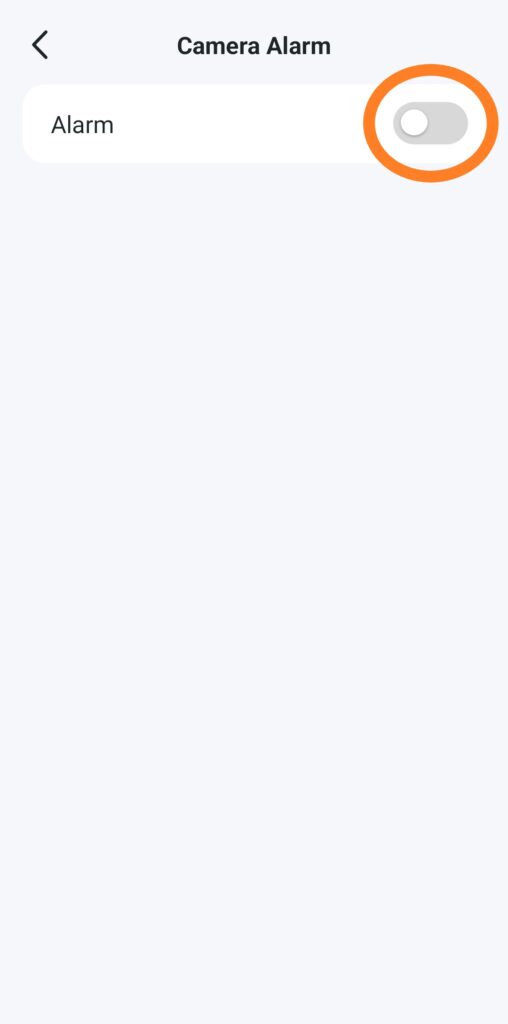
2. Slide to Enable Alarm
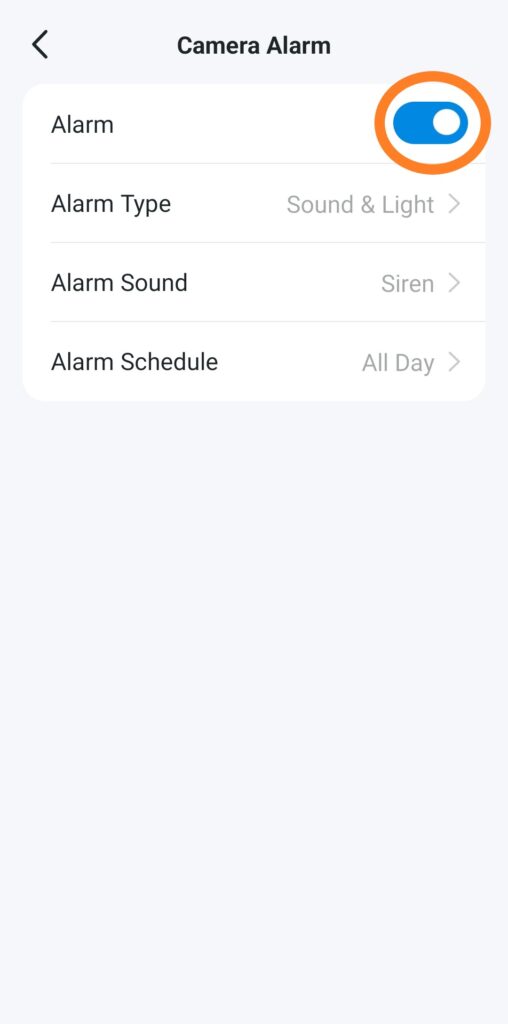
3. Alarm is now Activated
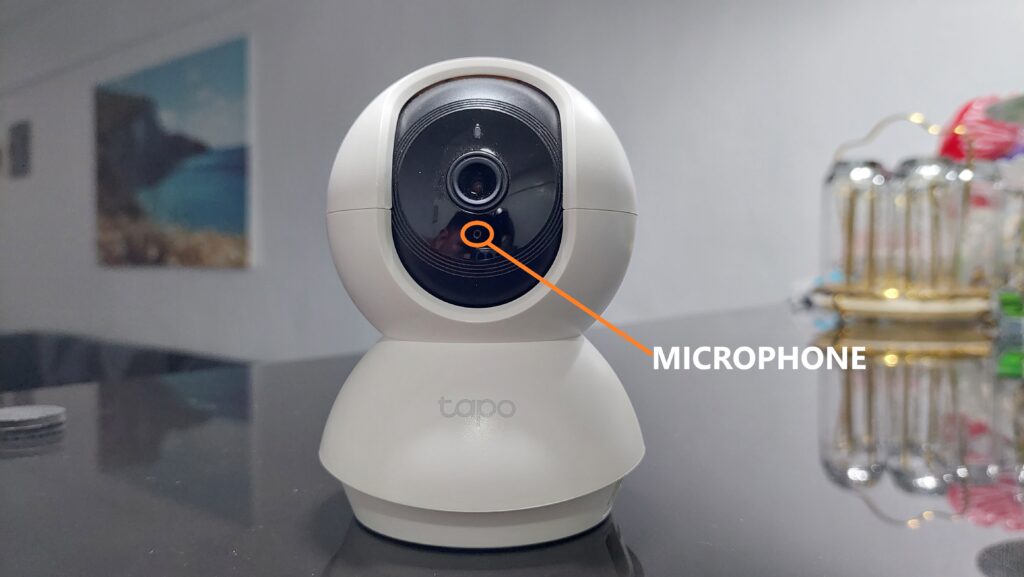
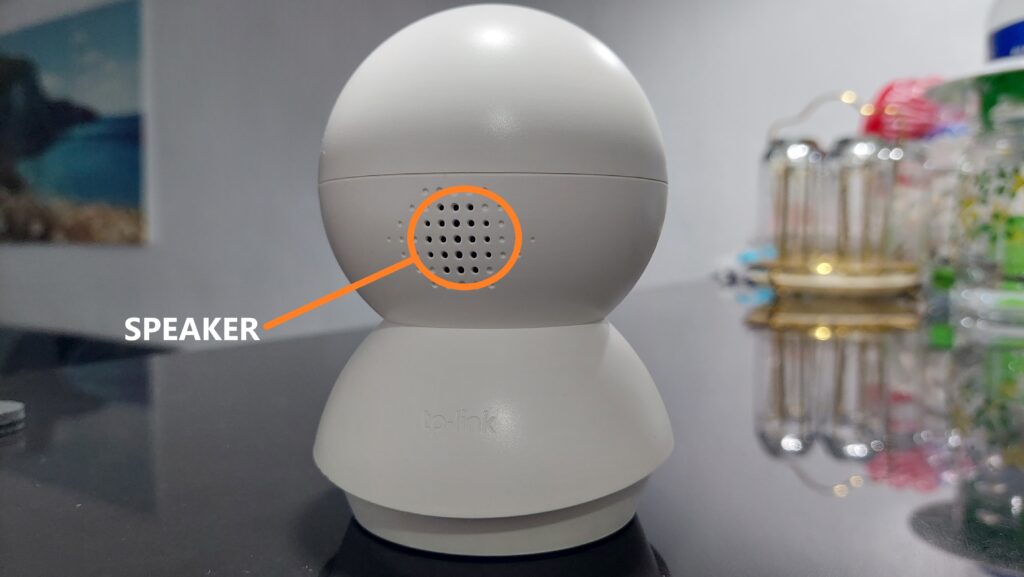
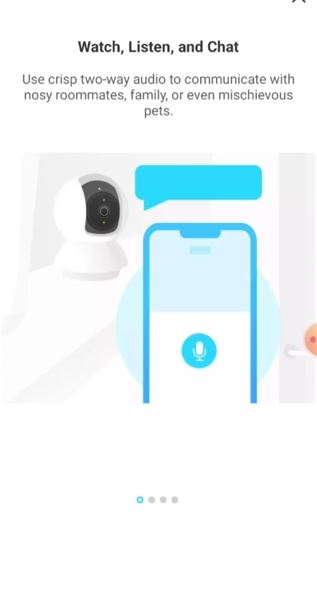
Ang camera natin ay build-in microphone at speaker two way pwede muna makausap ang iyong mahal sa buhay or co-worker at tauhan sa negosyo kahit nasa malayong lugar ka.
Yung local storage capacity ng ating camera para sa micro sd card ay up to 256Gb equivalent na sya ng 512 hours or 21 days camera footage.
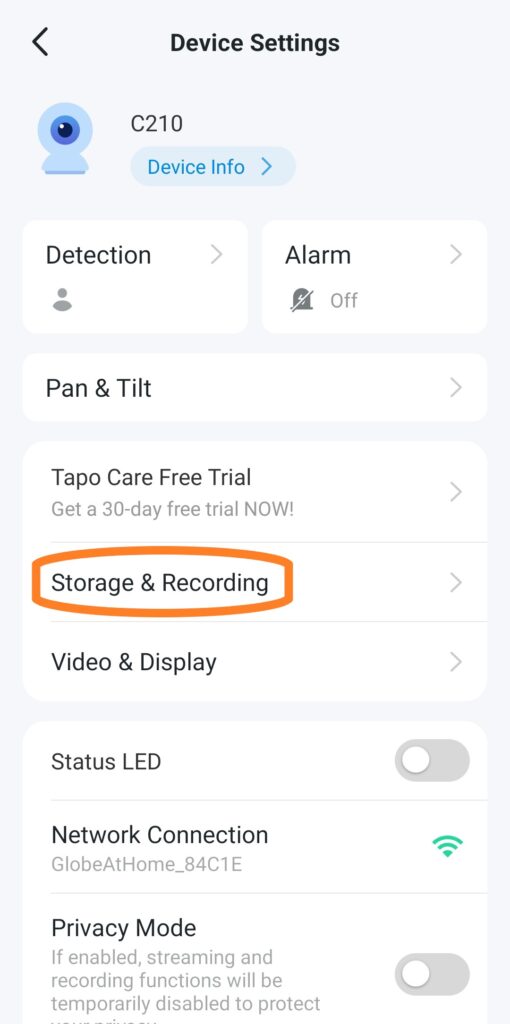
1. Click Storage & Recording
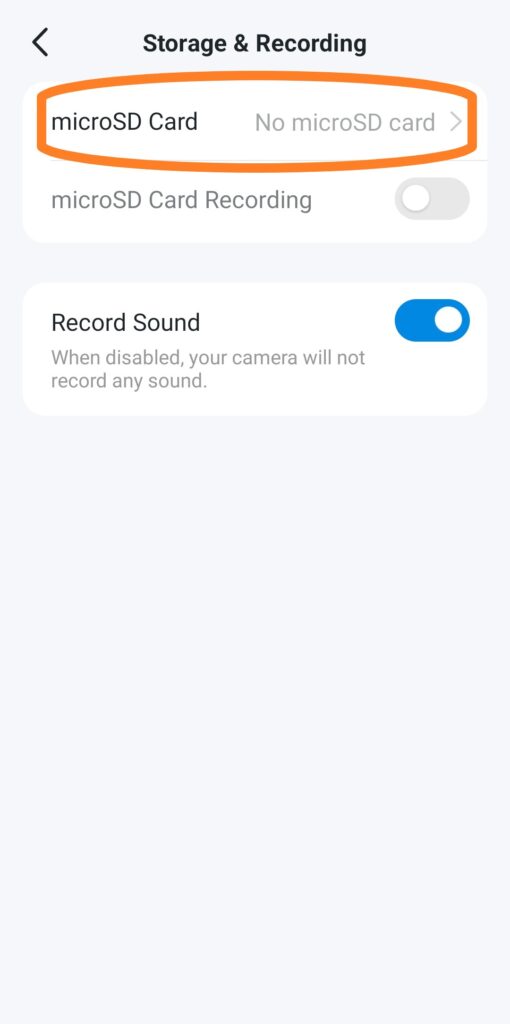
2. Go to MicroSD Card
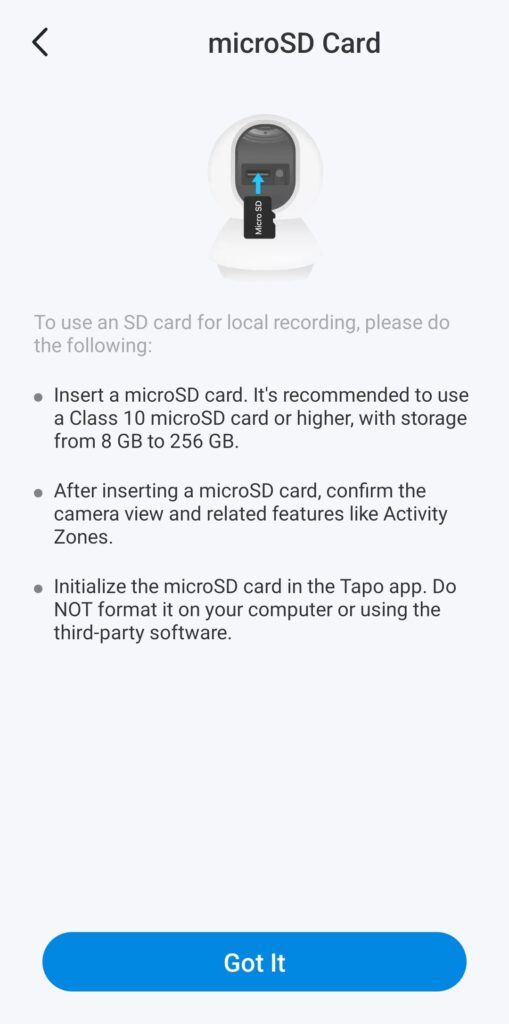
3. Local Storage Details
Kailangan mo muna mag install ng tapo app bago mo gamitin yun ating tapo camera mayroon qr code sa gilid ng box scan mo lang yun then download and install muna.
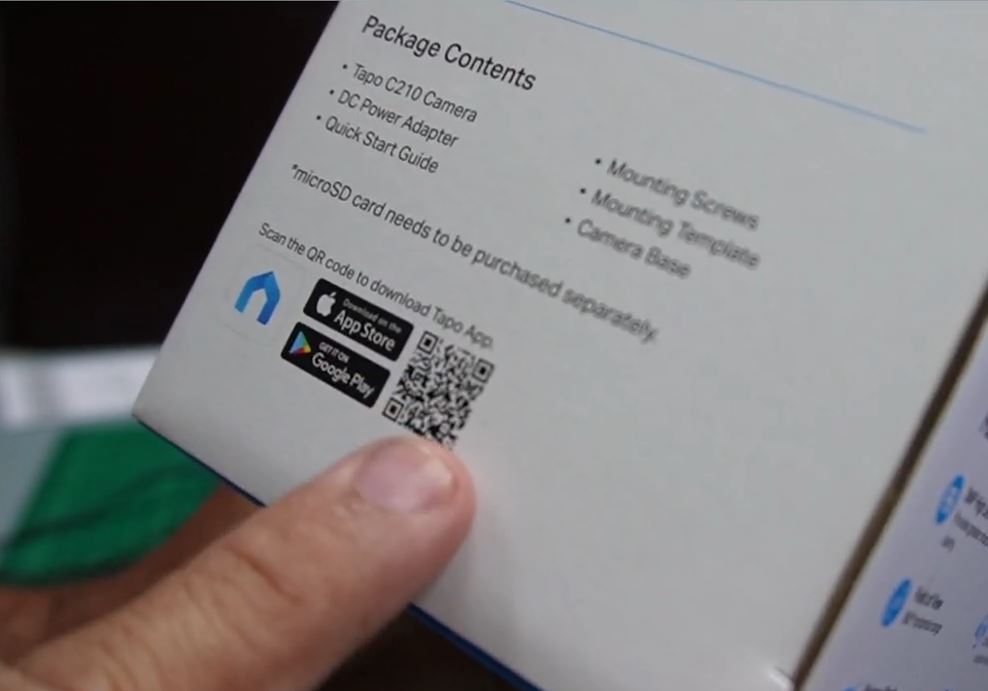
QR Code
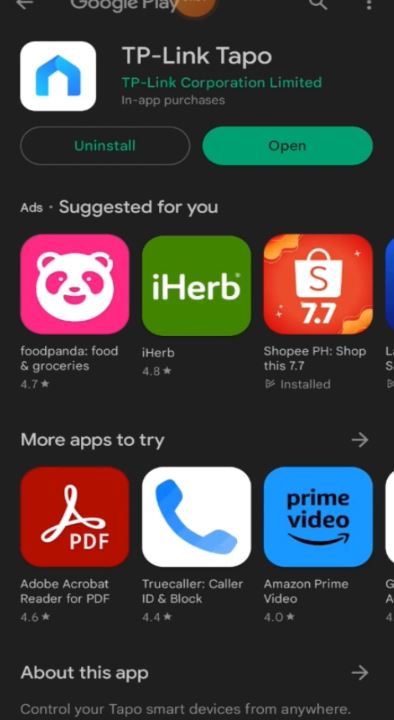
Mayroon din ito sa google play store type mo lang tapo app pag nakita muna yung app download and install muna compatible yung tapo app sa adroid at iOs phone mababa lang yung memory requirements ni tapo app.
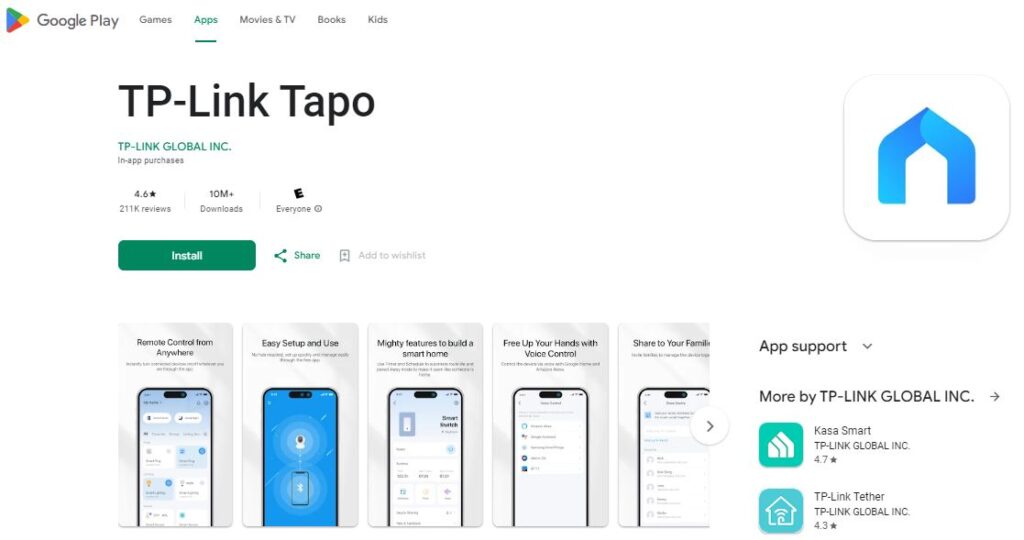
Google Play
After na install yung app pwede ka ng mag add ng camera para sa setup nito madali lang ang pag install follow mo lang yung screen instructions or check mo yung ating video para sa setup ng camera kailangan malakas yung wi-fi signal mo pag nag add ka ng tapo camera. Salamat sa pagbisita sa website natin hangang sa muli.
Paano Mag Install ng App at Mag Add Device
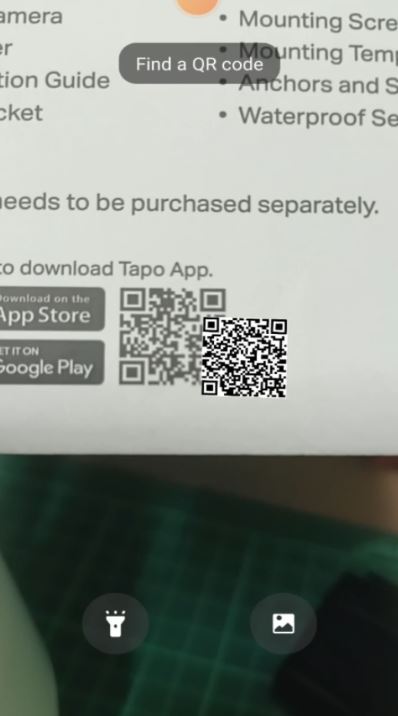
1. Scan QR Code
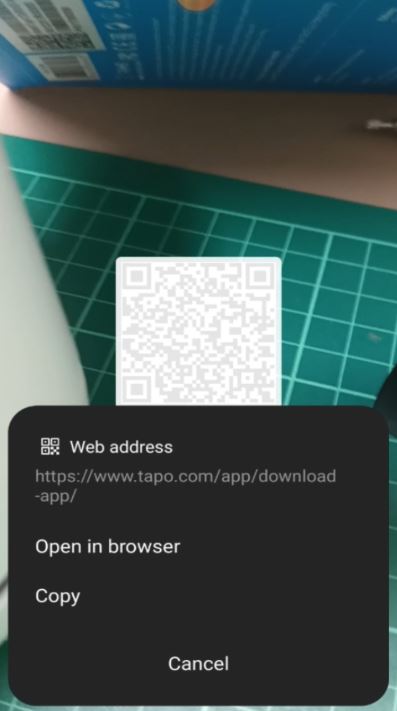
2. Click Open Browser
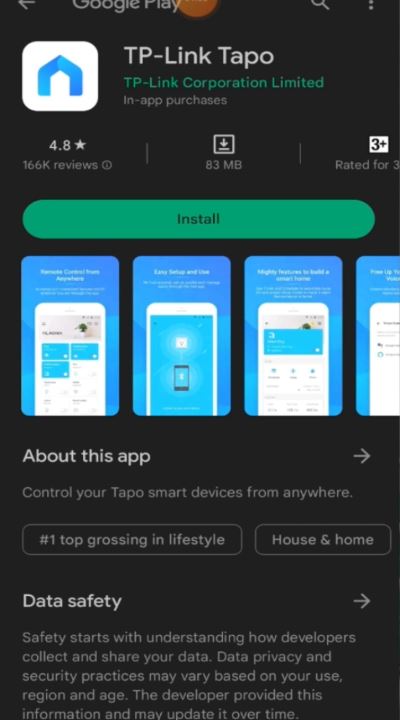
3. Click Install
4. After Install Click Open
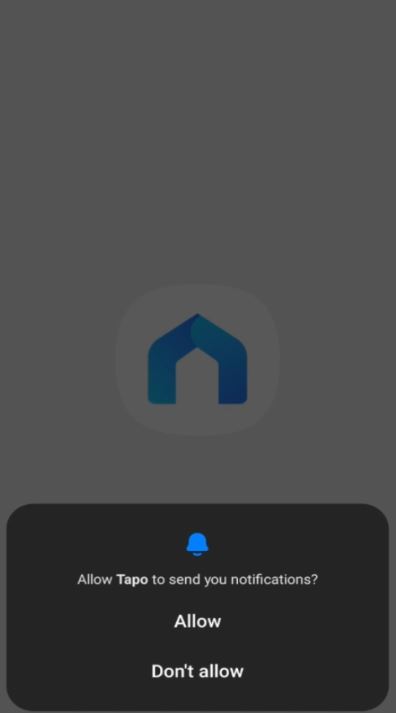
5. For the first use of the app Click Allow
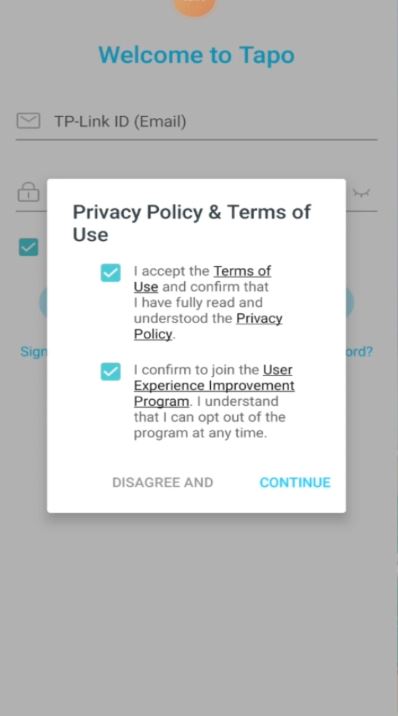
6. Click each check box privacy and terms of use then Click Continue
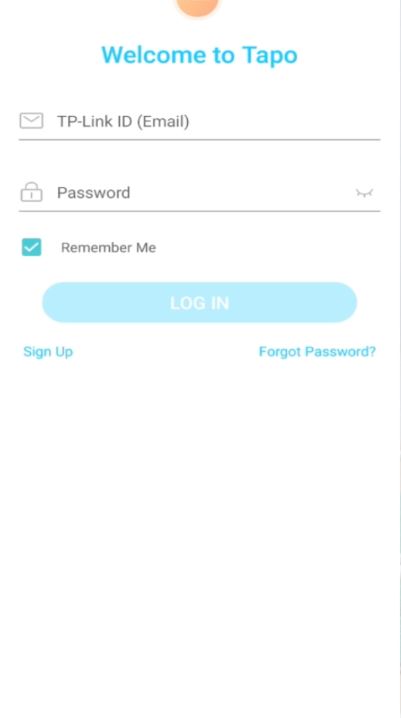
7. For the first use Click Sign Up
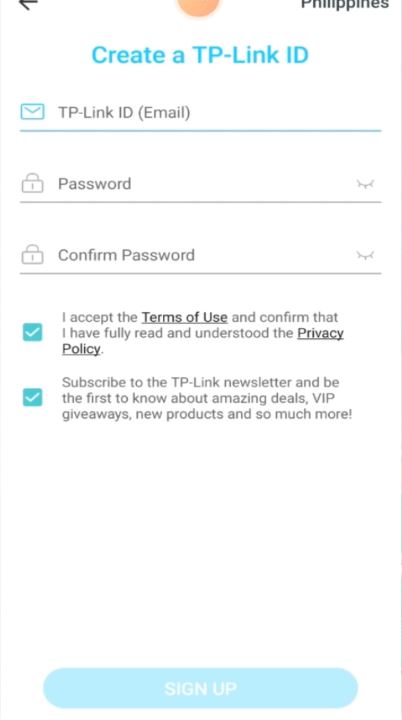
8. Create User and Pass after completed Click Sign Up
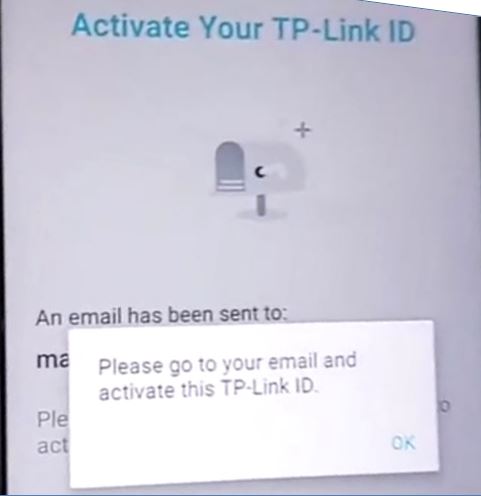
9. For Activation and login Go to your email for confirmation link

10. In your mail Click, Click to Finish Registration
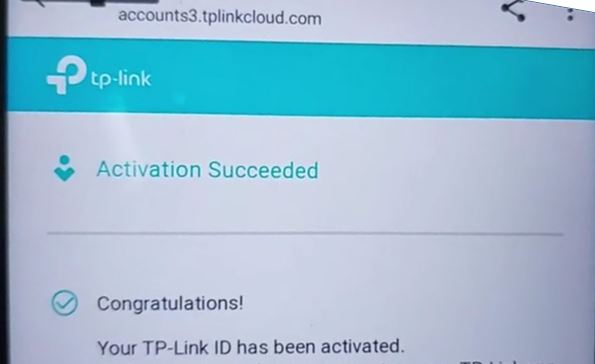
11. Activation Succeeded
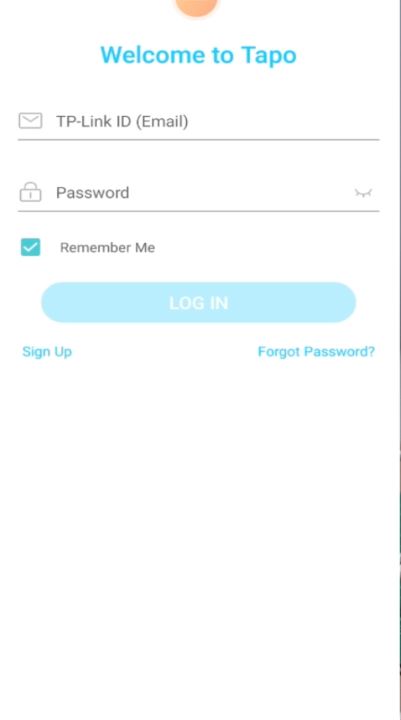
12. You can now Login using your email and password
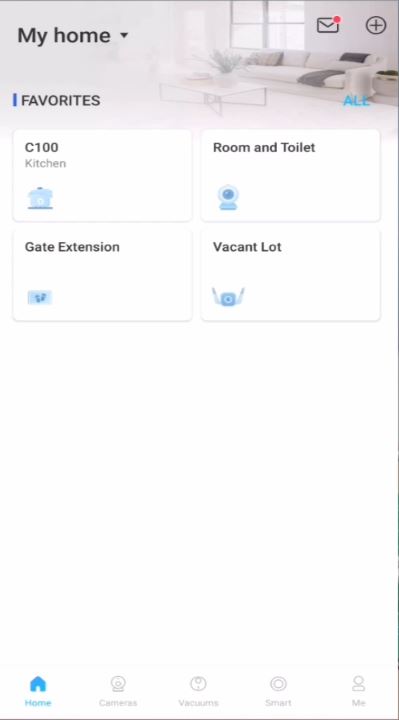
13. Click Plus sign to ADD new Device
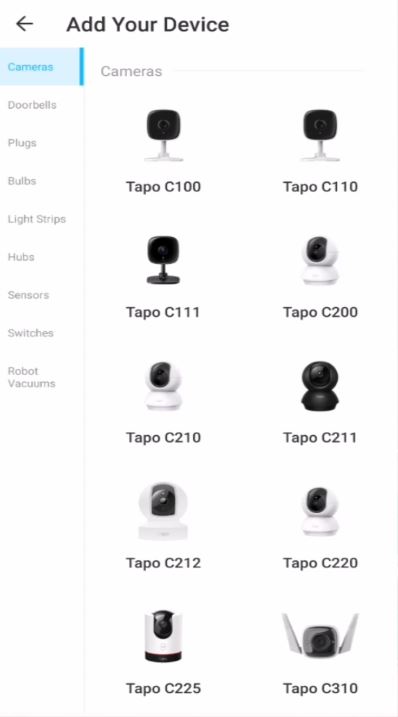
14. Select the Device for your camera
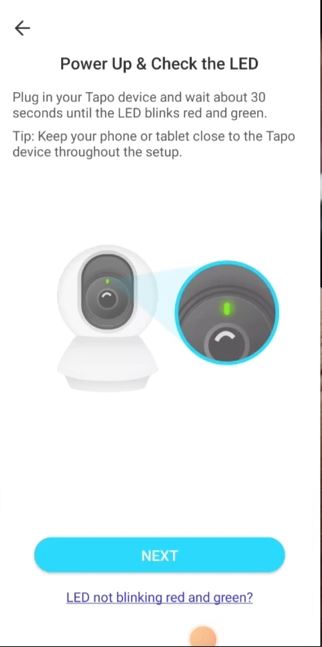
15. Power On your camera then wait for the led indicator blink red and green then Click Next
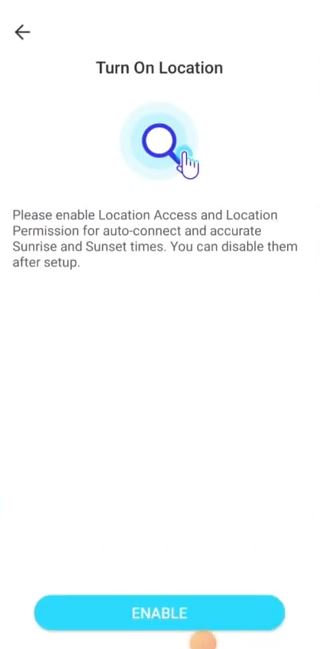
16. For Location Access Click Enable
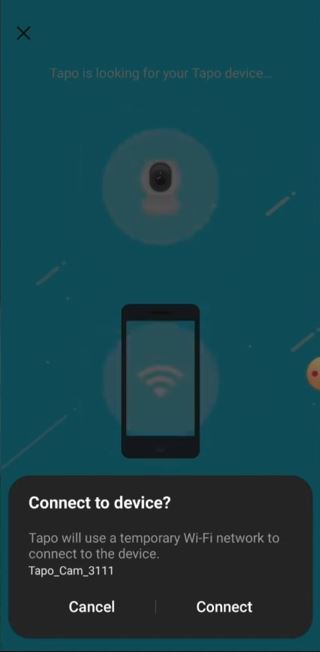
17. Click Connect

18. Select your Wi-Fi Connection
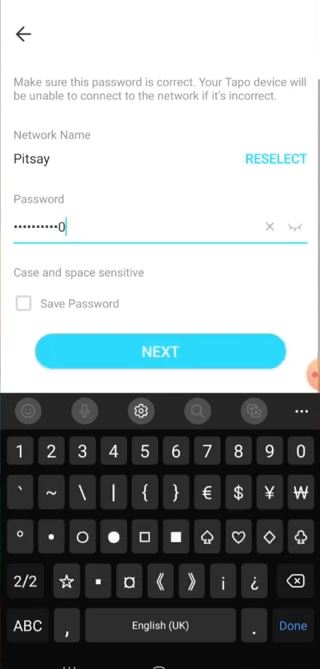
19. After selecting your wi-fi Input your password then Click Next
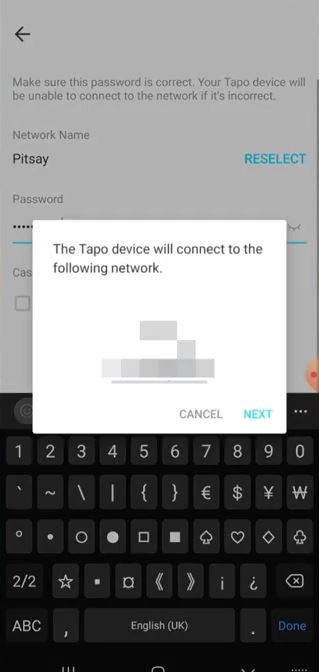
20. Click Next

21. Wait for a second device is connecting to your network

22. Wait for a second Pairing your device
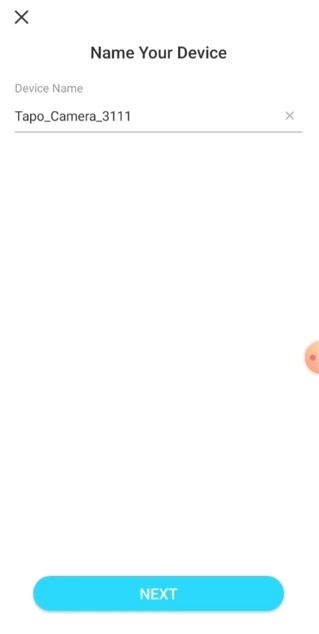
23. Name your device then Click Next
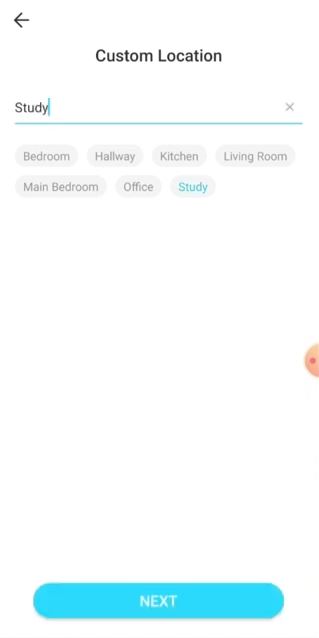
24. Select your Custom Location then Click Next
25. Select your Icon for your device then Click Next
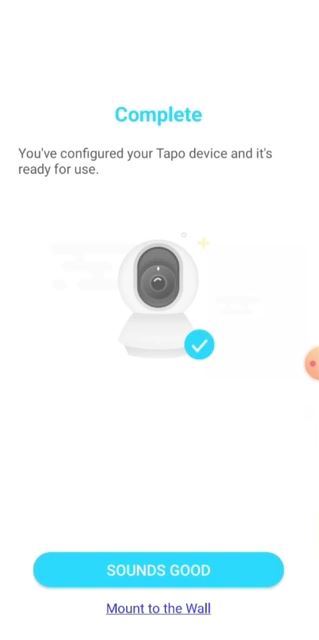
26. The device is Added to your App Click Sounds Good
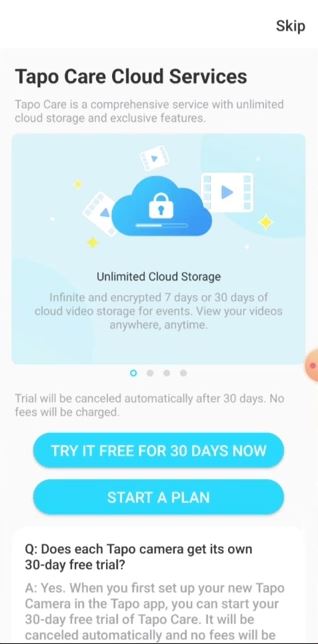
27. Other services Tapo Cloud Subscription or Click Skip
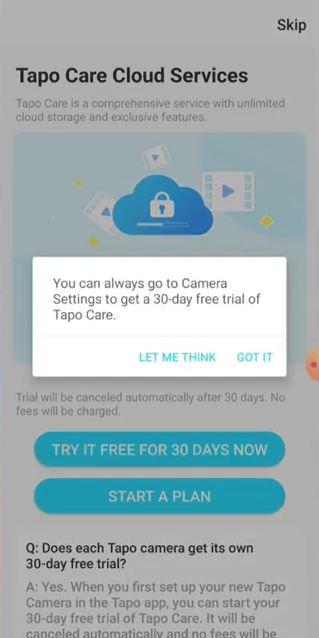
28. Click Got It
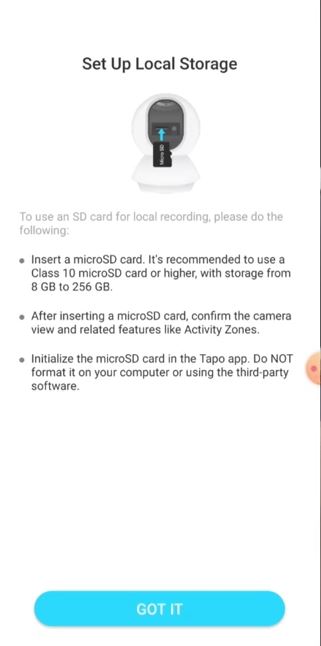
29. For Setup local storage Click Got It
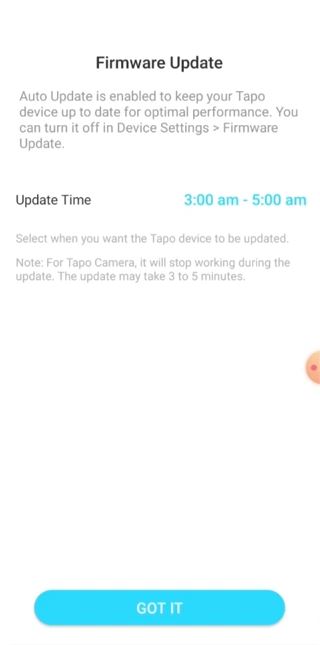
30. For Firmware update Select update time then Click Got It
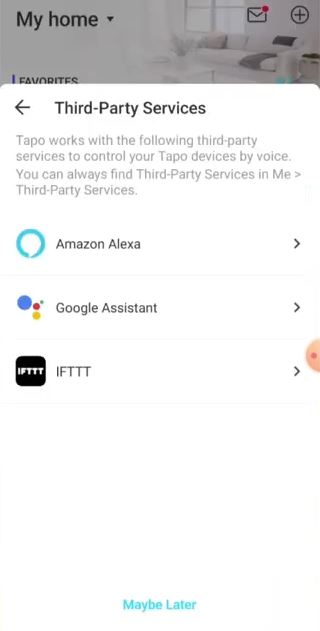
31. Other third party services or Click Maybe Later
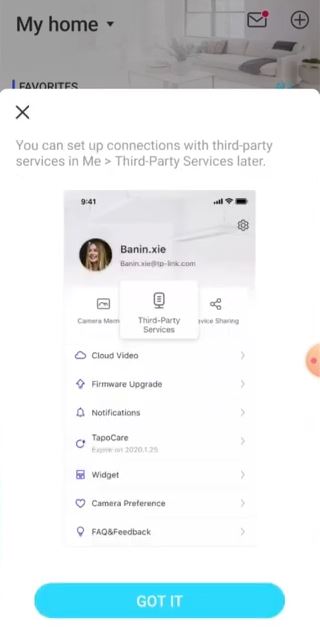
32. Click Got It
33. We Already added new camera. Click the Icon

34. Click Go
35. Swipe
36. Swipe
37. Swipe

38. Then Click Got It
39. Finish. The camera is already working
Tutorial Video Tapo C210